Using Layouts
Widget Workspaces and Dashboards
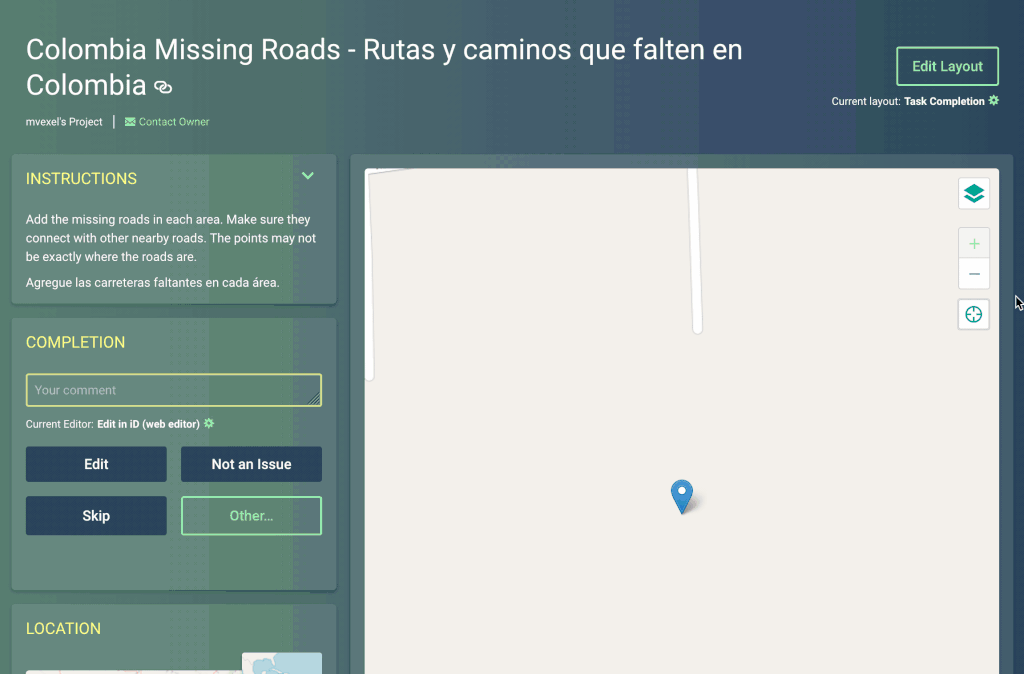
Various dashboards and workspaces in MapRoulette – including the task-completion workspace where mappers complete tasks – make use of individual widgets that can be mixed, matched, added, removed, resized, and reordered to create custom workspace and dashboard layouts. Each widget is represented by a box on the screen that offers specific functionality. Widget layouts can be customized, saved, and named – with easy switching between them – and can even be exported and imported to allowing sharing of useful or favorite layouts with others.
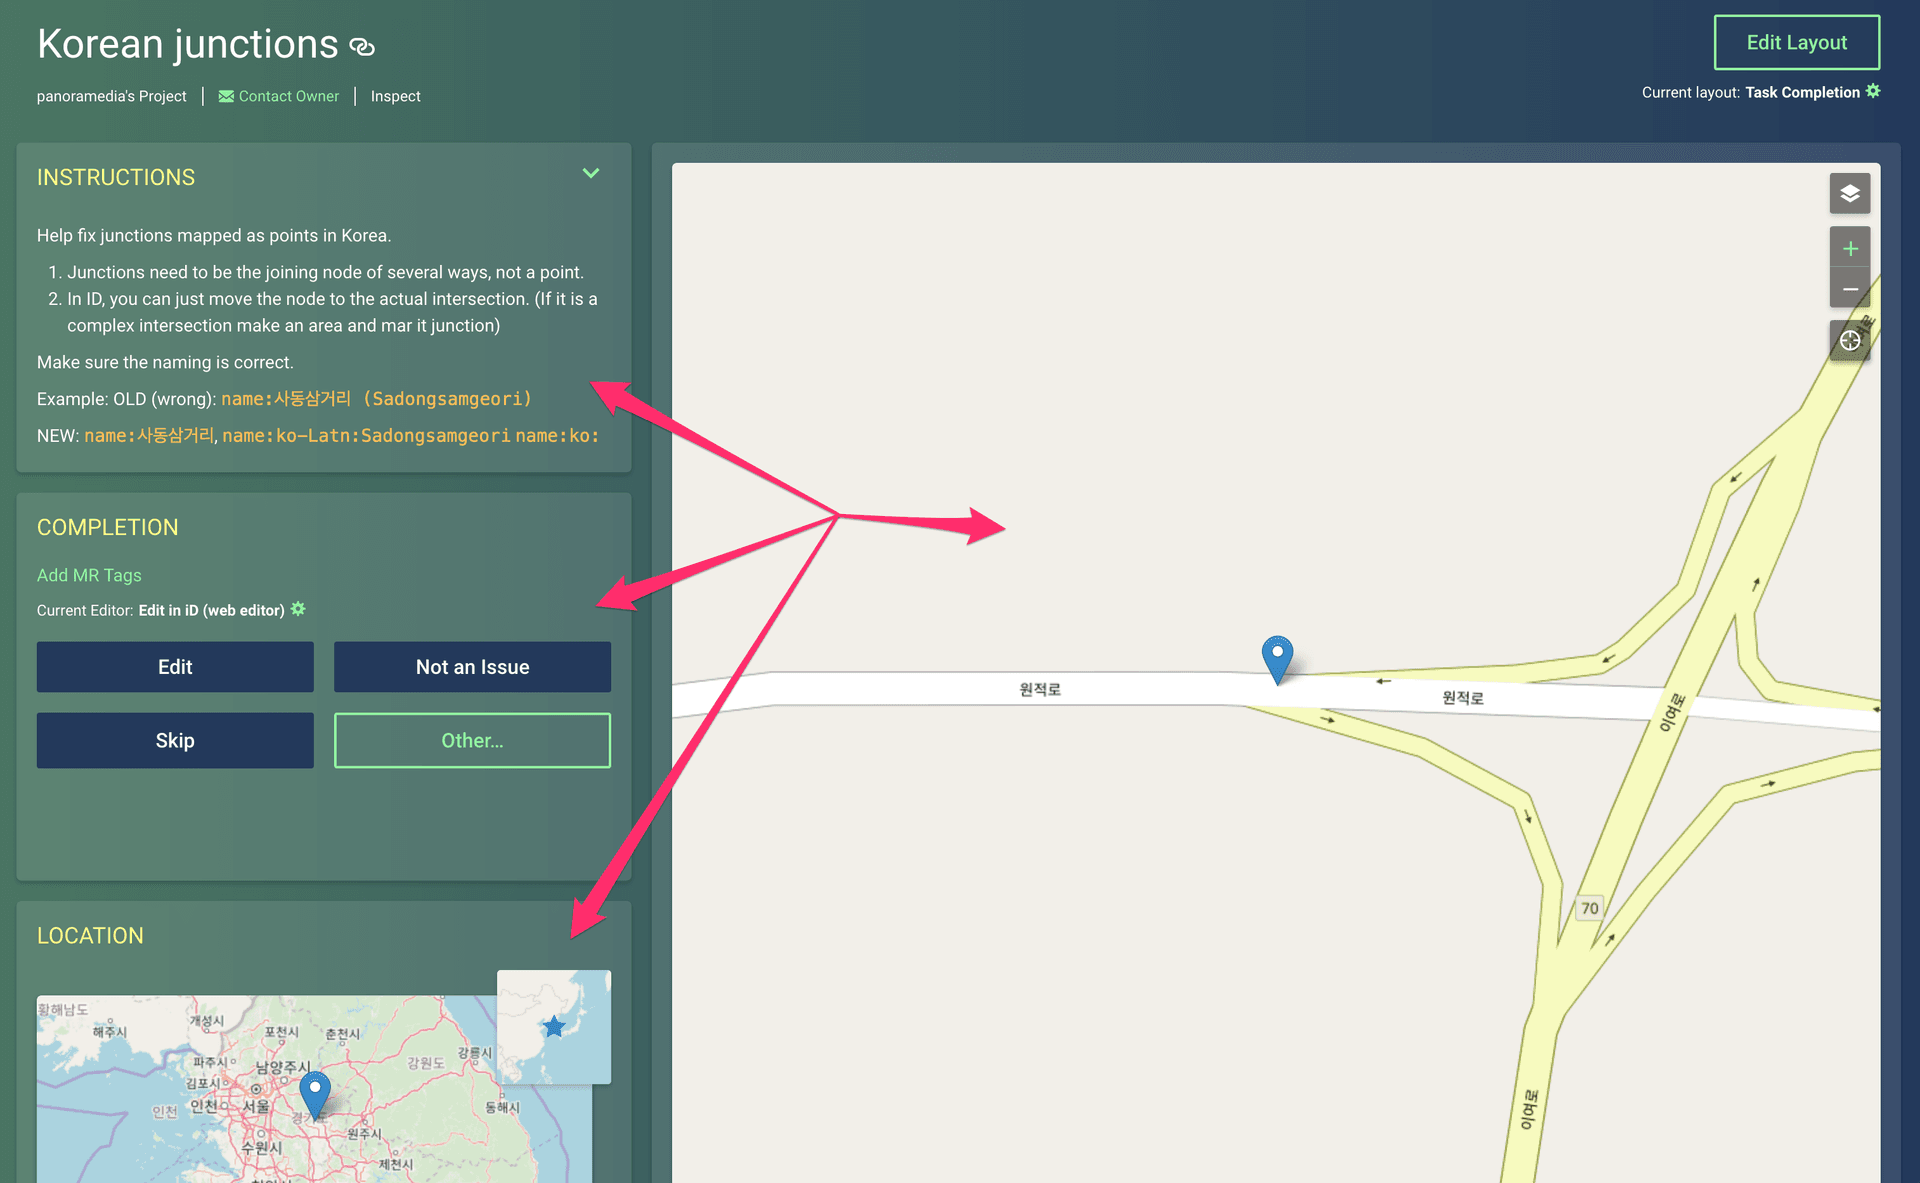
These are all individual widgets. Some are titled while some, such as the Task Map, are not.
It’s hard to create a one-size-fits-all workspace, both in terms of optimizing for screen-size (some users are on 13-inch laptops while others are using 27-inch HiDPI desktop displays or even dual displays) and mapper experience – expert mappers may wish to see more data and access more advanced functionality that a beginner would find intimidating or even overwhelming. Customizable layouts solve these problems by allowing each mapper to tailor their workspace to their needs, situation, and personal preferences, and even to create multiple layouts for different scenarios (e.g. a laptop layout and a desktop layout).
MapRoulette tends to default to simple layouts suitable for beginners that are comfortable to work with on a 15-inch laptop screen, but still usable on a 13-inch laptop screen.
Customizing a Layout
Layouts are easy to customize by clicking the “Edit Layout” button.

Once clicked, you’ll enter a special mode that allows you to move widgets around, add new widgets to the workspace from the “Add Widget” menu at the top, remove widgets using the red “Delete Widget” control on the top-right of most widgets, and resize widgets by dragging the resize-control found on the bottom-right of each widget. You also can rename your layout to give it a more descriptive name. When you’re finished, click the “Done” button at the top-right of the workspace.
Note that some widgets may be required for proper operation of the workspace/dashboard and will not have a Delete control. For example, the Completion widget containing the various task-completion controls is required on the task-completion workspace and does not offer a Delete control
Adding, Deleting, and Switching between Layouts
Beneath the “Edit Layout” button you’ll find a dropdown menu that contains additional controls, including options for adding a new layout, switching to a different layout you’ve previously created, or even deleting the current layout (careful, as this cannot be undone).

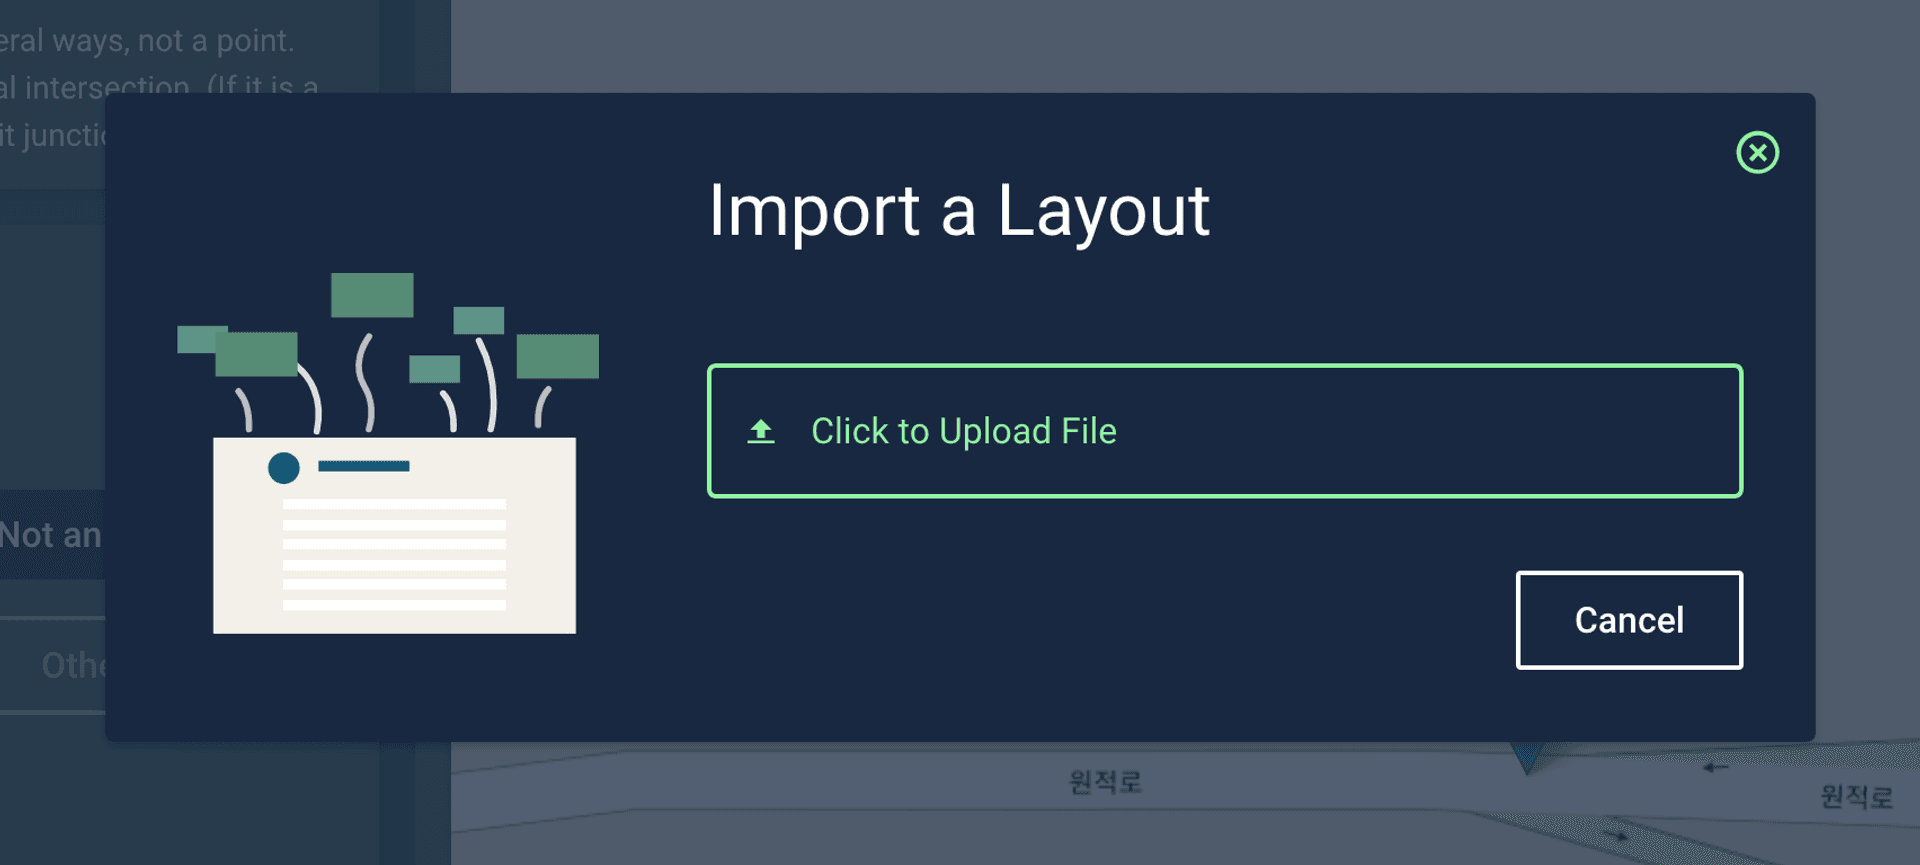
Exporting and Importing Layouts
The Layout dropdown menu (shown above) also contains options for exporting and importing layouts. Exporting allows you to download the layout configuration, which can then later be imported by you or someone else should you choose to send it to them. This can be especially useful for teams or at mapping parties. When you choose to export a layout, you’ll be given an option to choose a new name in case something more generic would be more appropriate. The name you provide will be used to initially name the layout when it is later imported. Click the “Download” button when you’re ready.

Importing works the opposite way: simply click to choose a layout file to upload.